DFM2HTML Complete Tutorial: Build Your First Site
This tutorial takes you through building a complete site with DFM2HTML from first install to published pages. It covers the build order you should follow, how to think about page structure before you touch the editor, styling basics through the editor's property controls, the JavaScript menu setup for navigation, the export workflow, and the common errors that slow people down on their first project. By the end, you will have a working site with a homepage, at least two content pages, and a functioning navigation system. You will also understand how the editor's template and container model works, which makes every subsequent project faster. If you are already familiar with the install process and have DFM2HTML open, skip ahead to the template selection section. For reference material on JavaScript menus, the JavaScript menus page covers the configuration detail not repeated here.
Step 1: Install and First Launch
Download the installer from the download page. Choose the 64-bit installer for any modern Windows 10 or Windows 11 system. Run the installer and accept any Windows SmartScreen prompts that appear. The prompt occurs because the software publisher does not hold a high-volume extended validation code signing certificate, not because the software is unsafe. The install process takes under a minute on most systems.
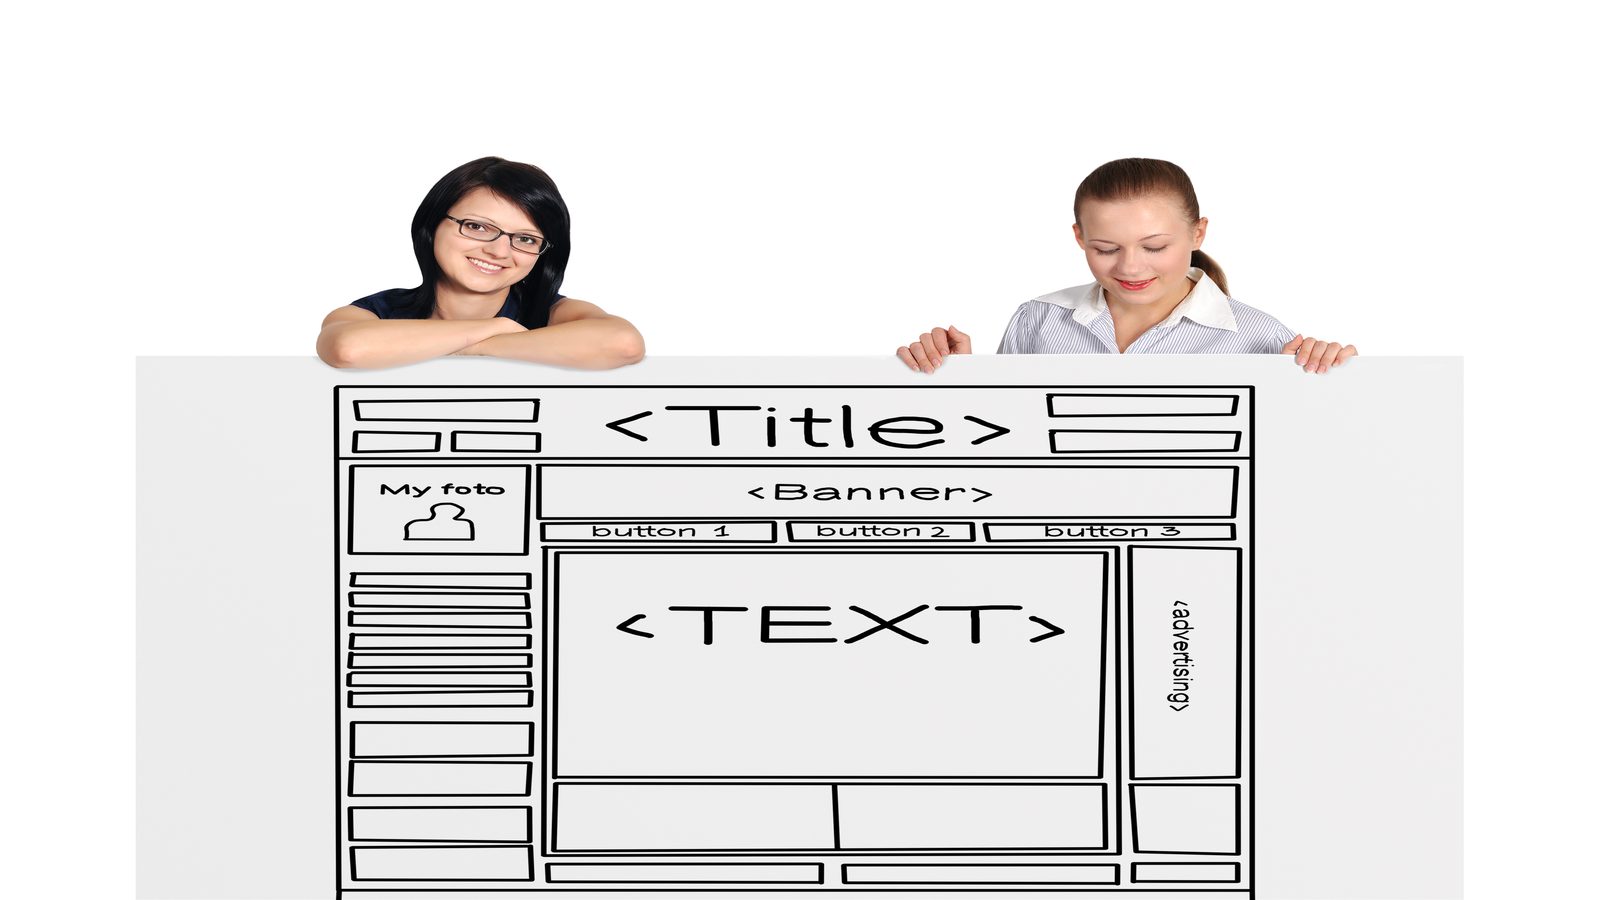
On first launch, DFM2HTML opens to the new project dialog. This is where template selection happens. Before you select anything, it is worth spending a minute thinking about the structure of the site you are building.
Step 2: Decide Your Site Structure Before Opening the Editor
The single most common mistake in desktop HTML editing is starting with the visual canvas before deciding the site structure. The visual canvas is seductive. It invites you to start placing things. But if you do not know how many pages your site has, how navigation will work, and what the content hierarchy is, you will make layout decisions that are hard to undo later.
Before clicking anything in the editor, write down:
- The list of pages the site needs (home, about, services, contact, etc.)
- Which pages link to which other pages through navigation
- Whether any pages need to share a persistent sidebar, menu, or navigation frame
- The approximate amount of content on each page (a paragraph? multiple sections? images?)
This takes ten minutes and saves hours.
Step 3: Choose the Right Template
With your site structure clear, template selection is straightforward:
- Single column content pages: use Template 1
- Two column layout with sidebar navigation: use Template 2
- Persistent side navigation that stays fixed while content changes: use Template 4 or Template 7
- Compact brochure or landing pages: use Template 5
- Multi-section pages with distinct zones: use Template 8
For a first project, Template 2 or Template 5 are the best starting points. Template 2 gives you the navigation sidebar structure that most multi-page sites need. Template 5 suits a focused homepage or product page.
Step 4: Building the Page Structure
Once you select a template and create a new project, the editor opens with the template structure visible in the canvas. You will see placeholder regions for the navigation, header, main content, and footer. Each region is a container. Click any region to select it and the inspector panel on the right shows its properties.
Start with the containers rather than the content. Set the widths and proportions of the column structure first. Adjust padding and margins so the page breathes correctly. Then add content elements into the containers. This top-down approach produces more consistent results than placing content elements first and trying to adjust the surrounding structure afterward.
Step 5: Styling Basics
The DFM2HTML editor controls styling through property panels rather than CSS rules written by hand. The common properties you will adjust are:
- Font family, size, and weight for text regions
- Background color for container regions
- Border properties for panels and image regions
- Padding and margin for spacing between elements
- Link colors for the navigation and inline text links
The stylesheet the editor generates from these settings is clean and readable. If you want to add styles that are not available through the property panels, the exported CSS can be edited directly in any text editor after export. That is a valid approach for advanced customization, but it means the additional styles are not reflected in the editor preview.
For foundational guidance on how HTML and CSS interact, the W3C HTML and CSS standards documentation provides authoritative reference material for the technologies that DFM2HTML outputs.
Step 6: Setting Up Navigation and JavaScript Menus
Navigation setup is the step that most tutorials underexplain. DFM2HTML's JavaScript menu system handles dropdown navigation, hover behavior, and keyboard accessibility, but it needs to be configured correctly to work well.
The navigation editor in DFM2HTML lets you add top-level items and nested child items. Each top-level item that has children becomes a dropdown trigger. The editor generates the correct nested list HTML structure that the menu script expects. Do not modify the generated list structure outside the editor unless you know exactly what class names the script looks for.
After setting up the navigation structure in the editor, preview the menu behavior in the built-in preview mode. Test that dropdowns open on hover, that keyboard navigation moves focus through the items correctly, and that the Escape key closes open submenus. Fix any issues before exporting. The JavaScript menus page covers the menu configuration options in detail.
Step 7: Multi-Page Project Management
A site with multiple pages needs all the pages to share consistent navigation and styling. DFM2HTML handles this through the project structure. When you create additional pages within a project, they inherit the project's stylesheet and the navigation structure you built. Each page has its own canvas for unique content while sharing the structural elements.
Create all the pages your site needs before you spend time on page-specific content. This lets you verify the navigation links between pages work correctly before you have invested significant time in content.
Step 8: Export Workflow
The export process in DFM2HTML produces a folder of web files: HTML pages, a CSS stylesheet, JavaScript files for the menu system, and any images in the project. The export dialog lets you specify the output folder and some options for how files are named and organized.
Export to a folder you can easily navigate to, such as a dedicated "output" folder in your Documents directory. After exporting, open the main index file in your browser to verify the result. Check the navigation, test the dropdown menus, and scroll through each page to catch any obvious layout issues before uploading to a host.
Step 9: Common Errors and How to Avoid Them
These are the errors that consistently show up on first projects:
- Navigation links point to the wrong page because the project file path is different from the export path. Fix: always test navigation after exporting, not in the editor preview.
- Images appear in the editor but not in the exported output because the image files were referenced from an external location rather than added to the project. Fix: add images to the project's resource folder before placing them in the canvas.
- CSS styles applied after export in a text editor are overridden by the editor's generated styles. Fix: understand the cascade order and target rules with sufficient specificity.
- The JavaScript menu works in the export folder but not after uploading to the server because the menu script path reference is incorrect. Fix: verify the script file was included in the upload and that the HTML script tag points to the correct relative path.
Step 10: Publishing to a Web Host
Uploading your exported site to a web host is the final step. The process depends on your hosting setup, but the core requirement is the same in all cases: the folder structure from the export must be preserved on the server.
For FTP-based hosting, connect with an FTP client like FileZilla, navigate to the public web root on the server (usually public_html or www), and upload the entire exported folder contents. Maintain the folder hierarchy exactly as exported.
For static file hosting platforms, most provide a web interface for dragging and dropping a folder of files. The same rule applies: upload everything and preserve the structure.
After uploading, test the live URL in a browser. Check navigation links, verify images are loading, and test the JavaScript menus. The FAQ covers the most common publishing problems with specific solutions.
Next Steps
With your first site published, the most productive next steps are:
- Read the JavaScript menus page for deeper configuration options
- Explore additional templates in the template library
- Review the extended tutorials for layout and publishing refinement
- Check the community hub for tips on specific scenarios